Thankful Garden Center Slide Fancy Fold Recipe
Here's a few pictures.
Card Recipe
THANKFUL GARDEN CENTER SLIDE FANCY FOLD RECIPE
Thankful Garden Center Slide Fancy Fold Recipe
STAMPS, CARDSTOCK, INKS
EVERYDAY ARCHESEVERYDAY HAPPINESS DESIGNER SERIES PAPER
CARD BASE
LOST LAGOON 4 ¼ x 11 score @ 5 ½ (front bottom cut off 2 ¼ *reserve for inside pocket)
CARDSTOCK
3 ½ x 4 ½ Front for Hydrangea
4 1/8 x 3 1/8 Front top mat
4 1/8 x 2 1/8 Front bottom mat
2 ½ x 3 ¾ Inside die cut Arch #5
1 ½ x 3 Front sentiment of your choice (I used HAPPY from Everyday you & me stamps)
5 x 3 ¾ Front die cut Arch #9
3 x 4 Inside die cut Arch #6
INKS CLASSIC STAMPIN PADS
DSP
EVERYDAY HAPPINESS DESIGNER SERIES PAPER
3 ¾ x 5 score @ ½ at top for inside slide panel, use floral rose pattern
3 ½ X 4 ¾ Front die cut Arch #8 Faded multicolor paper
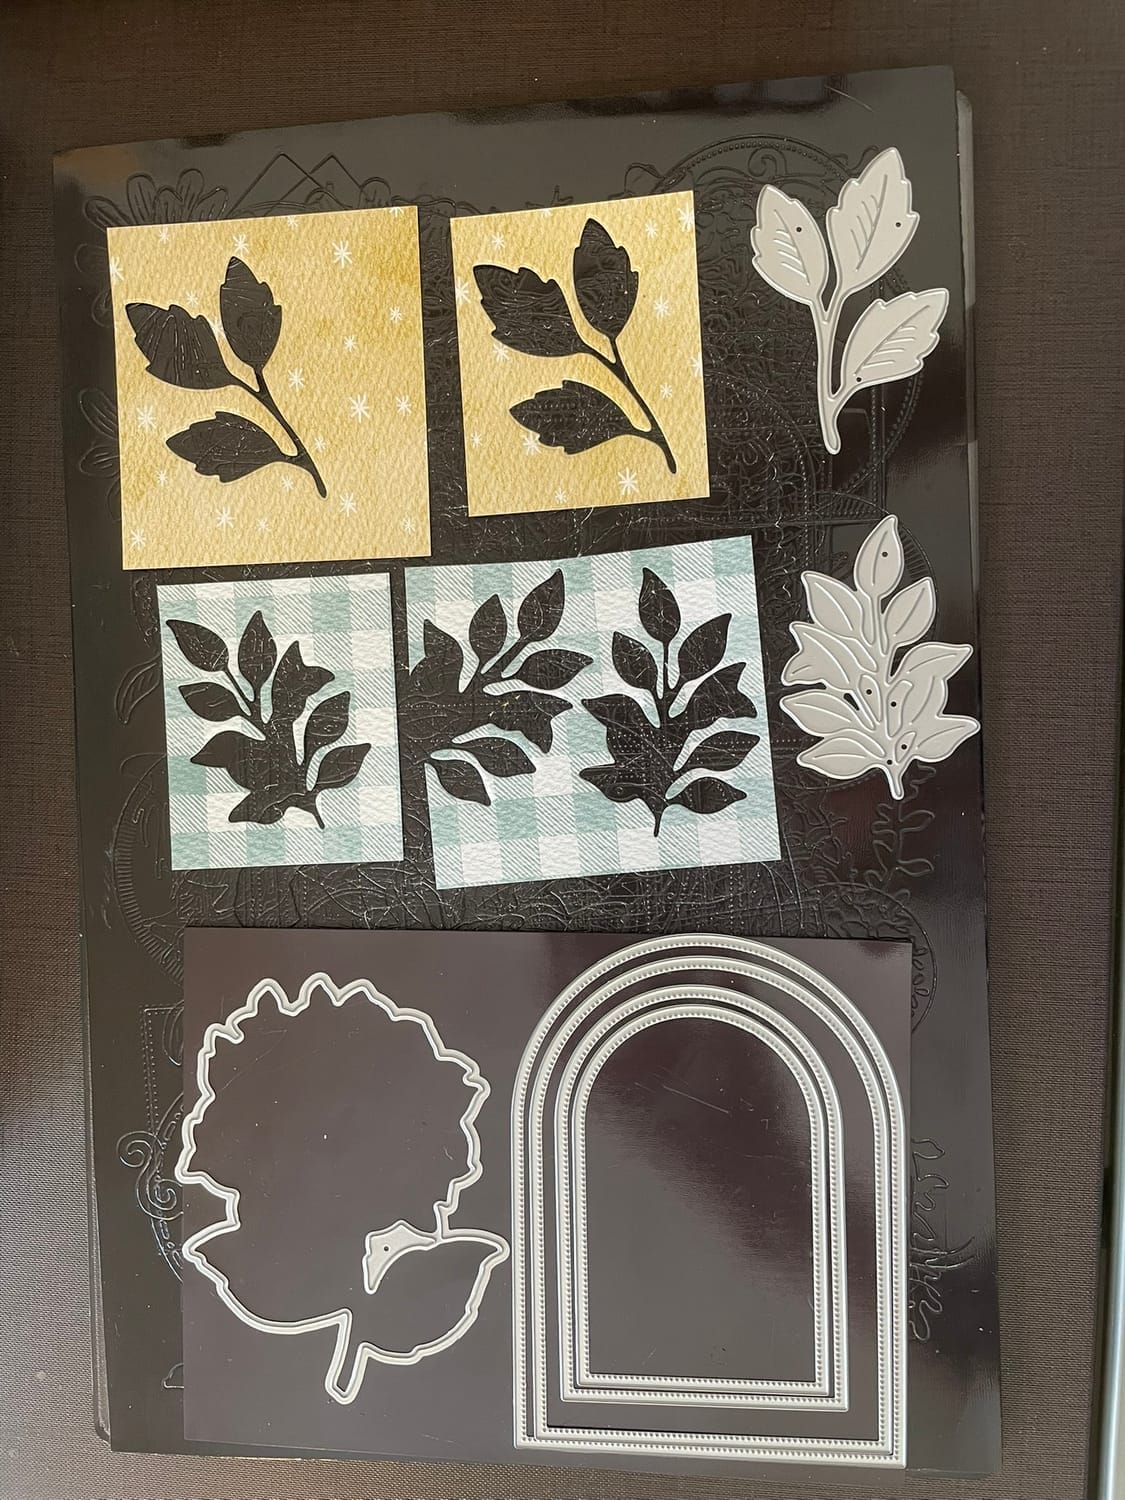
3 x 6 Die Cut 3 small leaves out of gingham pattern paper
4 x 3 Die cut 2 large leaves out of wild wheat with starburst paper
DECORATIVE MASKS
Stamp LG Hydrangea image in Gray Granite
Mask #1 Blend brush over entire image lightly with Lost Lagoon
Mask #2 Blend brush sparingly & randomly with Gray Granite & Lost Lagoon
Mask #3 Blend brush sparingly and randomly
*Masks are tricky, might take a bit of practicing to get image color you desire
LEAVES
Mask #4 Blend brush over entire image lightly with Wild Wheat
Mask #5 Blend brush sparingly and randomly with Gray Granite
ASSEMBLY INSTRUCTIONS
FIRST
Cut card base reserve front bottom 2 ¼ pc, (set aside for inside pocket) Cut all cardstock and DSP pieces. Die cut ALL arches main floral image and leaves.
NOW
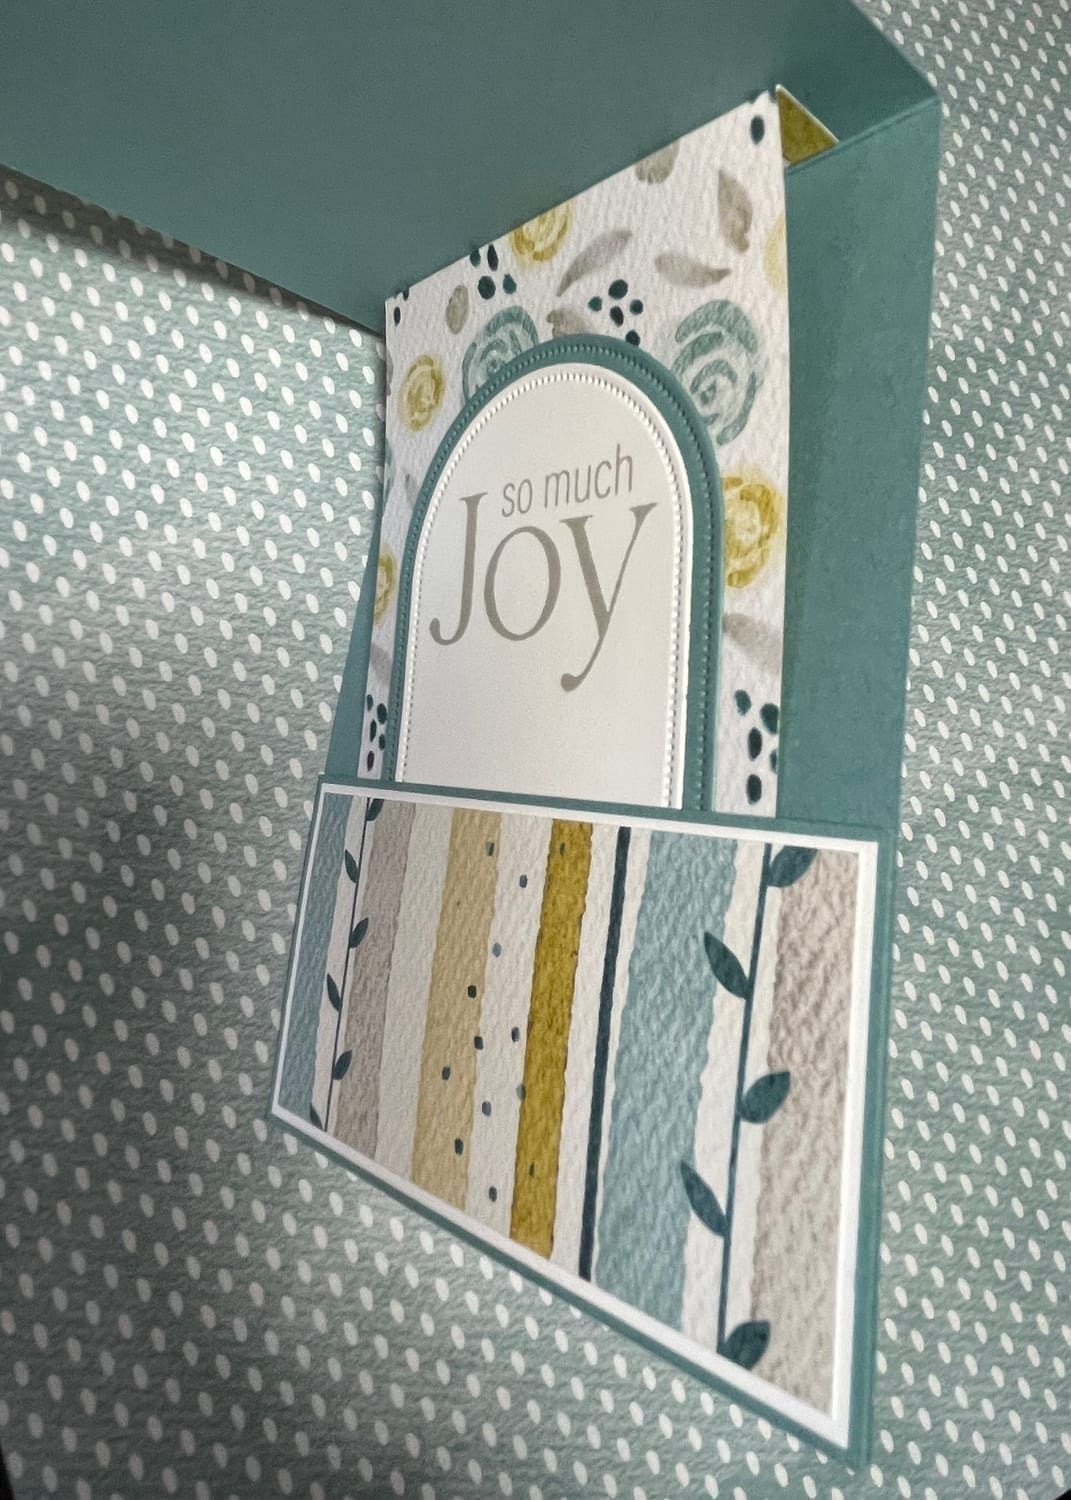
Glue Basic White mats onto Lost Lagoon Cardstock. Add the DSP layer. Glue Front Arch #9 Lost Lagoona & #8 DSP, (set aside) Stamp Sentiment of choice onto 1 ½ x 3 Basic White, stamp sentiment of choice onto Arch #5. Open card base glue piece of DSP 3 ¾ x 5 onto card only with the ½ inch scored folded back section directly above the fold /score line. *CENTER DSP leaving ½ inch border on both sides. Glue both arches #5 & #6 for the inside of card and adhere them ¾ inch down from the top of the slide DSP.
NEXT
You will have to ADD to the recipe (shims) 2) ¼ x 3 ¾, 2) ¼ x 2 (*just cardstock scraps)
Glue these down onto the BACK all around the bottom and both sides of the reserved Lost Lagon pocket cardstock. This will allow additional room for the multi layers of cardstock to slide easier. Hold pocket into place and OPEN/ CLOSE your card checking the positioning of the pocket and ALL slides easily UP/DOWN. Glue carefully not to get any excess adhesive into the sliding area.
THEN
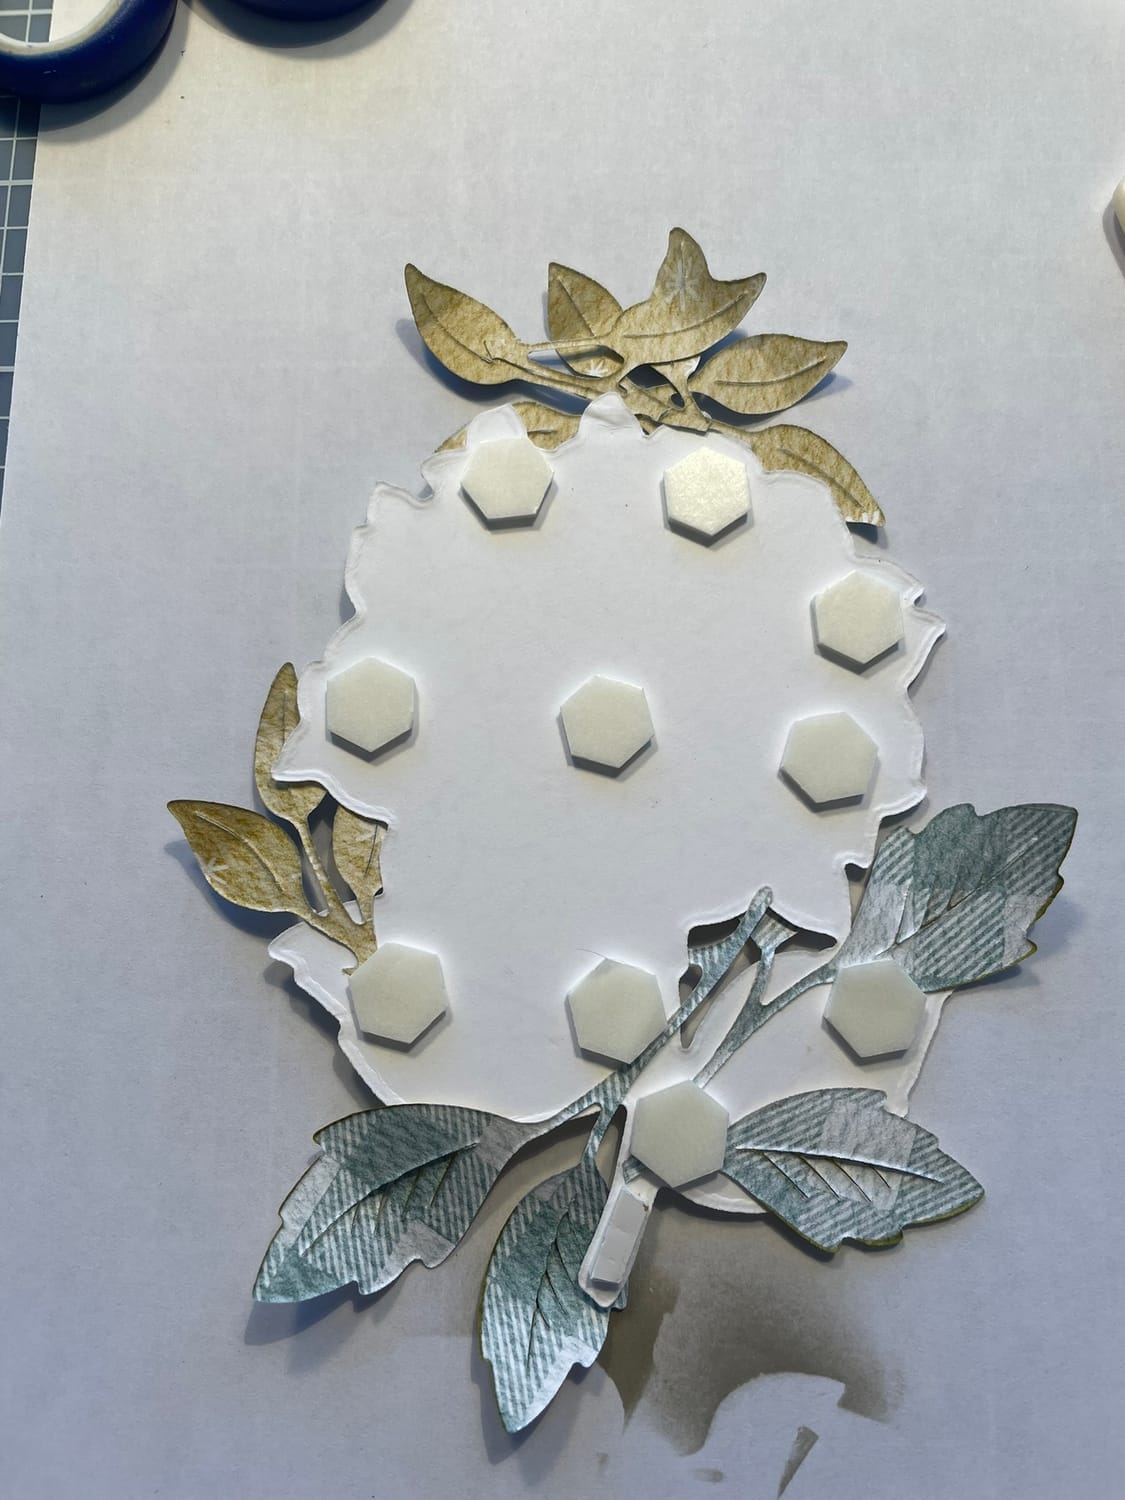
Time to distress the leaves and attach them to the LG Hydrangea image. I used Wild Wheat and a blending brush on the large leaves and Gray Granite with a masking technique and a blending brush on the small leaves. Use your bone folder to curl up and make your leaves come to life instead of lying flat. I used my paper snips and cut sections of the small leaves to fit to scale. Use the remaining few leaves and place under sentiment for the front of your card. (see pic of back for cris-cross of the leaf’s placement) Bottom leaves are placed up through and between the leaves on the Hydrangea image.
FINISHING UP
Place stamping’ dimensionals on back of Hydrangea and POP it UP onto the center of the Arches. Glue down your sentiment onto the Hydrangea and tuck a few leaves coming out from each side, if you liked my look. Take your card base and close it and place your Hydrangea image over both panels. Find where you want it to stay and use a large post it note and lay it across the arches onto the base of your card. Swing open card and mark the under side of the arches that is overhanging with another post it note. Remove top post it note flip image over and only glue on the top portion where the post it not is not covering. This will allow you to glue only where the image is going to be attached. Add the glue & place back onto card base, Press and hold, or use a large clear block and set it on top for a moment making sure it’s dry and your image is secure.
EMBELISH
I used Tiny Bee Trinkets and Threaded Twine, * Use embellishments of your choice.
HOPE YOU HAD A GREAT TIME CREATING THIS ACTION / SLIDE CARD.
Tutorial
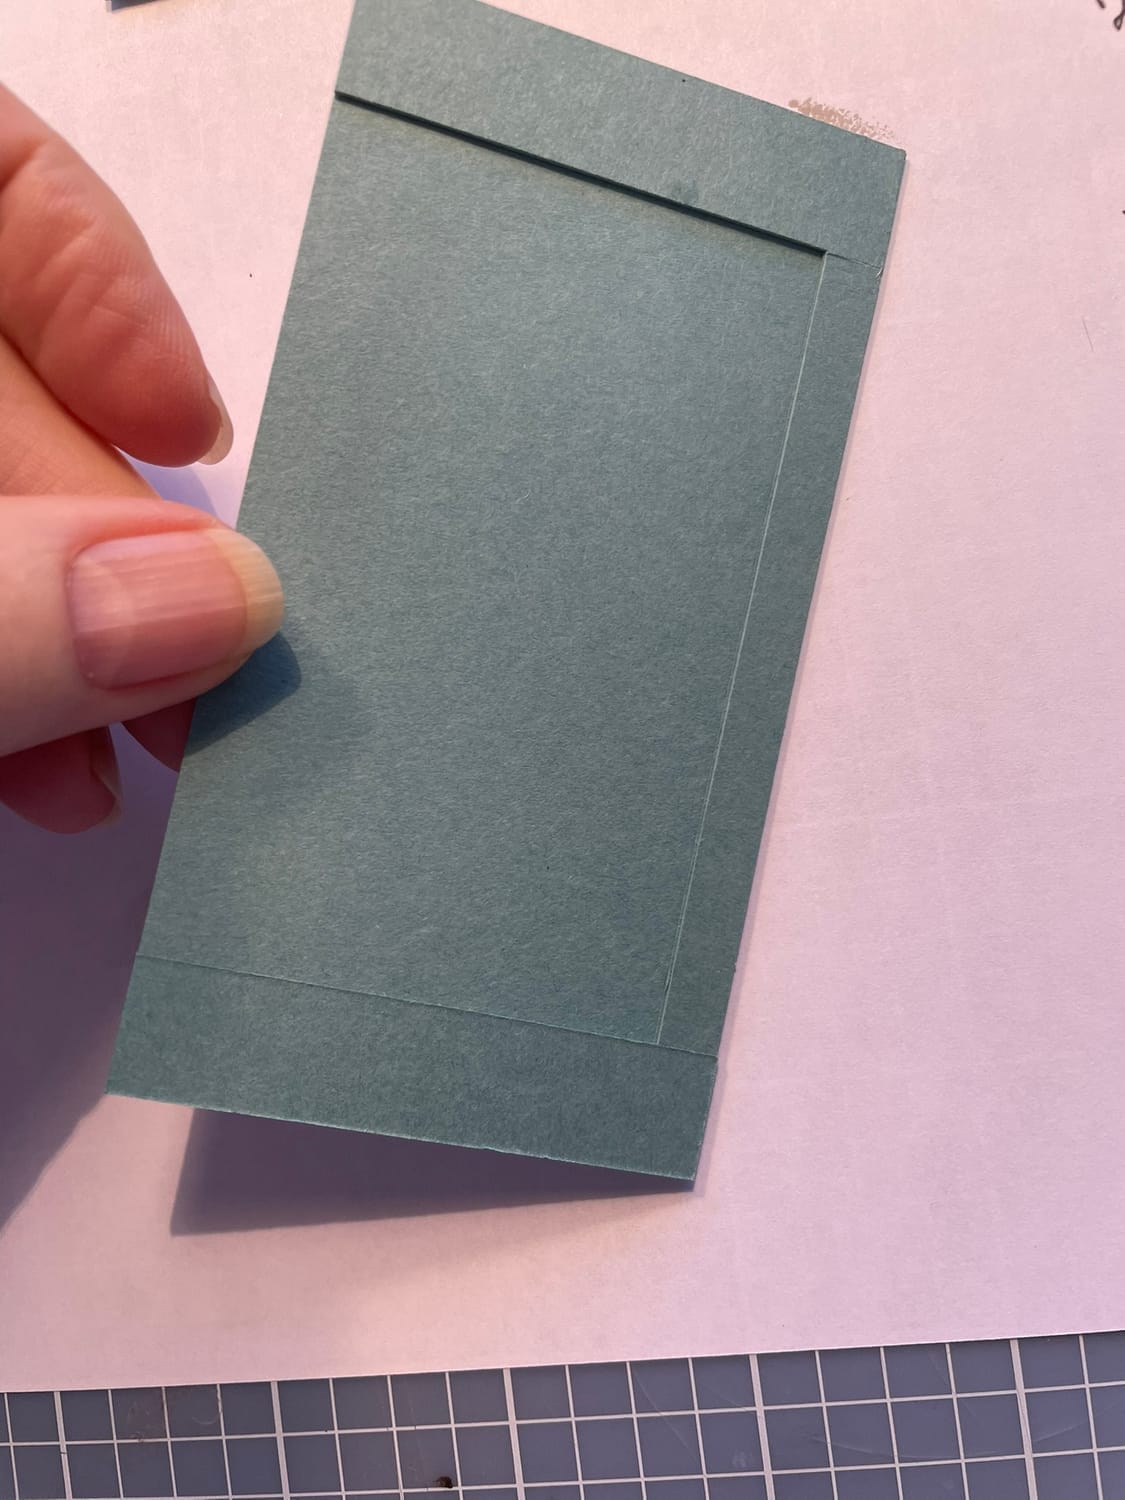
THE SHIM MEASUREMENTS ARE ALL 1/4 INCH WIDE
(PICTURES SHOWS SIDES AS 1/2 INCH WIDE)

Share this recipe & post
About me

Hi there 👋 My name is Tammy Dawn Tomei. Thanks for being here and checking out my creations.
Signup For My Tutorials, Designs, and Card Recipes Sent To Your Inbox
Receive notifications of new posts, recipes and my latest creations by email.
Get My Favorite Extra's
I recommend all of these products because I own them, use them, and love them.
Raye Craft Organizers
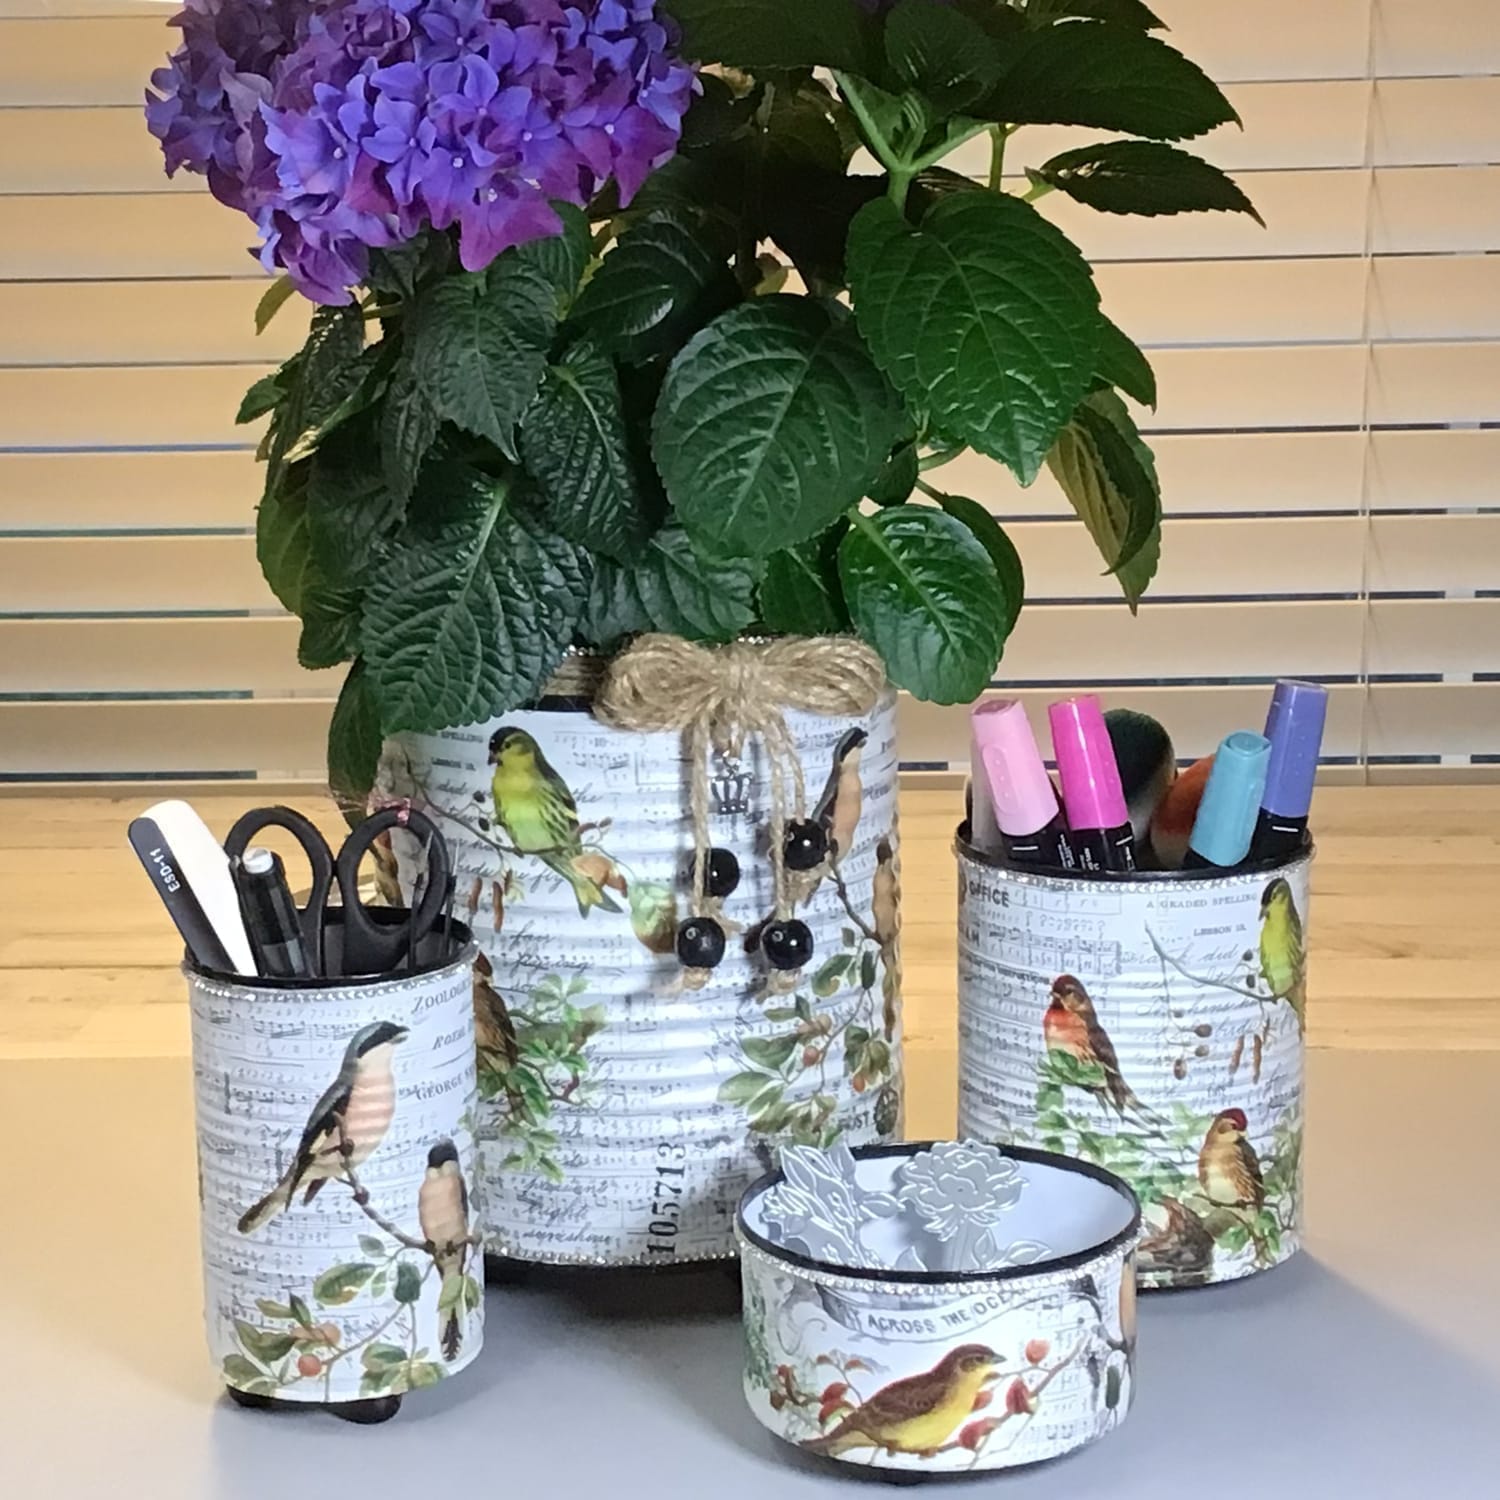
Where creativity blooms and every piece tells a story. Get a Handmade craft organizer by Dedrah Raye Creates
Get the Products You Need

2025 © Tammy Tomei. All Rights Reserved.
Tammy Tomei is an Independent Stampin' Up!® Demonstrator. This blog is owned and managed by Tammy Tomei and DMT Solutions, Inc.. Stampin' Up! does not endorse the use of the contents of classes, tutorials, services, or non-Stampin' Up! products that might be offered here.
As an Amazon Associate, I earn from qualifying purchases.


